Inhaltsverzeichnis
OpenVPN configuration under Windows
From 21.06.2025, the new configuration file must be used. You update it as described at the bottom of this page.
The new configuration requires OpenVPN version > 2.5.
For an OpenVPN client configuration under Windows, please either follow the short guide or the detailed guide.
Short Guide
- Install the current OpenVPN package from here.
- Start OpenVPN. Once started, you will find the icon on the right in your task bar.
- Download the file RUBvpn_Standard.ovpn and import it using the OpenVPN icon in the task bar.
- Establishing and closing a connection is done by right-clicking on the symbol right in the task bar.
☝ Note: If you see red marked lines during the connection establishment, this is not a safe indication of connection errors.
In case that no connection is established, you will find the FAQ - Frequently Asked Questions here.
Detailed Guide
Software download
Please download the current OpenVPN package for Windows from the following (official) address:
Select the latest version of the installer for your operating system and download it.
Installation
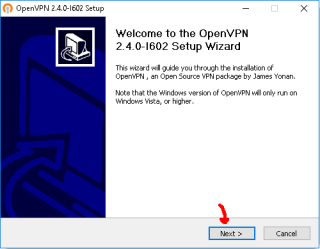
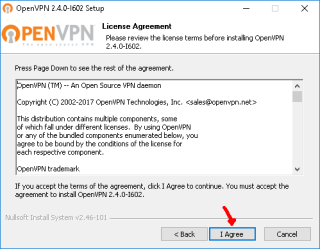
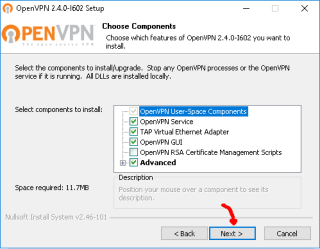
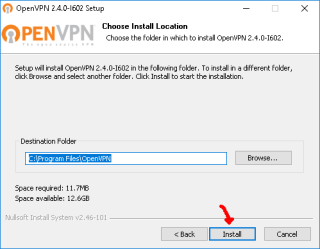
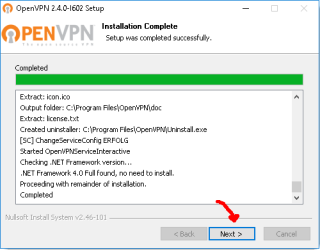
A double click on the downloaded file starts the installation of the OpenVPN client. You will now be guided through the individual installation steps:
You can accept the default settings:
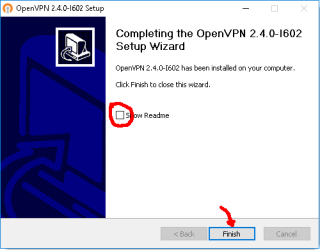
Finally, the installation is completed.
You can uncheck Show Readme on the last page. Then you do not have to close the Readme file after the installation.
Configuration
- Download the following file: RUBvpn_Standard.ovpn – save it in your download directory
- As soon as OpenVPN has been started, the icon appears on the right side of your task bar. From here you can operate the program.
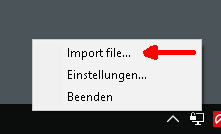
- Right-click on the OpenVPN icon in the task bar and select Import File…
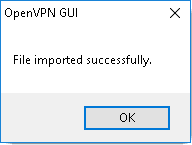
- Select the configuration file you just downloaded to import it. This should be confirmed with the message File imported successfully.
If you cannot download the configuration file or if it is displayed directly in the browser window, you can download it via the context menu (opens by right-clicking on the download link) and then via „Save target as“. There are cases (or browsers) that do not offer this option. In this case you will have to use a different browser.
Connecting and disconnecting
To start the OpenVPN connection, do the following:
- If you have not already done so, start the OpenVPN client. The small OpenVPN symbol now appears on the right side in your task bar.
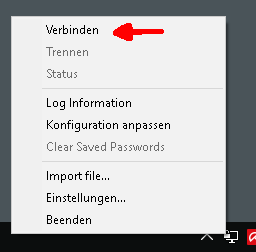
- Right-click on it and select Connect to start the connection.
- Enter your loginID and your password to establish the connection.
When the OpenVPN connection is started, the symbol turns yellow, then green:
To disconnect, right-click the (green) OpenVPN icon again and select Disconnect.
Update configuration
Download the current configuration file here RUBvpn_Standard.ovpn.
It is necessary to delete old configuration files, preferably before you import a new one. To do this, go to the following two folders and, if available, delete all configuration files:
- C:\Users\*USERNAME*\OpenVPN\config (Please make sure that you select the user name that has administrative rights.)
- C:\Program Files\OpenVPN\config (Select the hard disk on which you have installed OpenVPN, it does not necessarily have to be called „C:“.)
Then import the current configuration file again via the context menu (right-click on the OpenVPN icon on the right in the task bar) via „Import files“.
Frequently Asked Questions
In case that no connection is established, you will find the FAQ - Frequently Asked Questions here
Many thanks to Michael Szybko and a reseach group of the faculty of chemistry and biochemistry for the translation of this page.


